Welcome to MyFavTutor, India’s most preferred online tutor search portal!
In this support section, we will cover most of the frequently asked questions that we get from students and tutors. So, if you are a student or a tutor registered on our portal, or intend to do so, please read on.
Please check the appropriate section to find answers to your questions. If you do not find any, simply drop us an email of your questions to contact@myfavtutor.in and we will get back to you as promptly as possible. Simply drop an email with your question to contact@myfavtutor.in and we will get back to you as promptly as possible.
Happy Learning / Teaching!
Warm regards, MyFavTutor Support Team
Once your learning sessions have ended and you wish to review your tutor, go to the profile page and click the ‘Write a Review’ button. You will then be directed to a ratings page. A short review is beneficial in increasing the ratings.
Ratings and reviews enable tutors to gain a wider exposure to more students.

Our user friendly portal offers an efficient two-way communication between students and tutors. Once you post your learning requirements, our unique algorithm will help find suitable tutors. You shall receive an email containing a list of matching tutors shortly after. To communicate with the tutors, you will need to login to your MyFavTutor account.
You can respond to the messages received from tutors by clicking on the ‘Messages’ link in your dashboard. You will also get a link via email from tutors which will direct you to the message board on your MyFavTutor dashboard. A text area shall appear underneath the message to enable you to type in your response. Submit your response by clicking the “Send” button.
If you wish to communicate directly with a tutor, leave your email address or phone number in the message box. To get further information about a tutor, click the tutor's profile page to view his/her skills, experience, ratings and reviews to find out whether the tutor suits your requirements.

With MyFavTutor, you will get verified tutors that match your learning requirements. Most importantly, our services are absolutely FREE!
Our huge database provides relevant matches of tutors based on the requirements you posted. Apart from online tutors, you can also find home tutors or training institutes available near you.
Our portal provides an informal learning and teaching system compared to the formal school/college education system. We cover a wide array of categories including School or College Tuition, Vocational Training, Entrance Exam Coaching, Computers, Cooking, Art and Drawing, Music, Dance and much more.
Create your profile as a tutor on MyFavTutor, add your education experience details and even get reviews from students you tutored. You can also upload videos and images in the gallery to give demos to students.
Via MyFavTutor, tutors will enjoy the convenience of reaching out to potential students, having an efficient two-way communication and even build reputation.

Click the ‘Sign In’ link and enter your username and password. Forgot your password? Just click the “Forgot Password” link and we will guide you on how to reset it.
If you have already posted your requirements for a tutor(s), you should see them at top of the screen. You can navigate through your posted requirements and select the one you need to explore.
Once you click on a specific requirement, a page containing all the responses that you have received for that requirement will pop up. You can communicate with the tutors of your choice and respond to their messages.
A verified badge is a label ![]() that appears on your profile. This badge indicates that MyFavTutor has confirmed your identity, qualification and experience by verifying the documents you have submitted.
that appears on your profile. This badge indicates that MyFavTutor has confirmed your identity, qualification and experience by verifying the documents you have submitted.
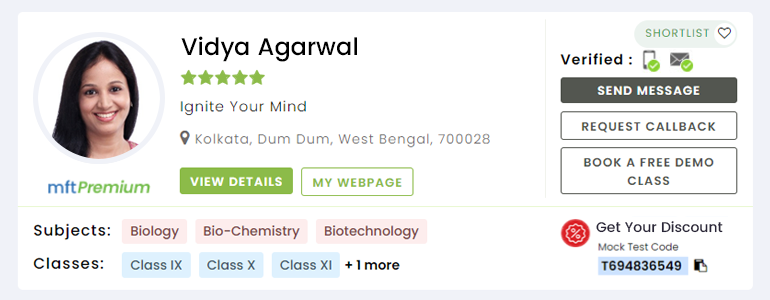
Having an mftVerified badge from MyFavTutor adds to your credibility and encourages prospective students to use your services.
Verified Badge is part of our endeavour to ensure that only real tutors are on our portal and students are not exposed to any scams.
While the Verified Badge is not mandatory for tutors, submission of proof of identity is mandatory in order to get a tutor account published on MyFavTutor.
As a tutor or a training institute, your MyFavTutor profile is the most powerful online tool you have; to grab the attention of prospective students and convey your credentials. So, it is of paramount importance that you complete your profile with accurate information.
Follow the steps given below to update and complete your profile on MyFavTutor :
Step 1 - Log in to your MyFavTutor account. You will land on the ‘My Profile’ option from your dashboard.
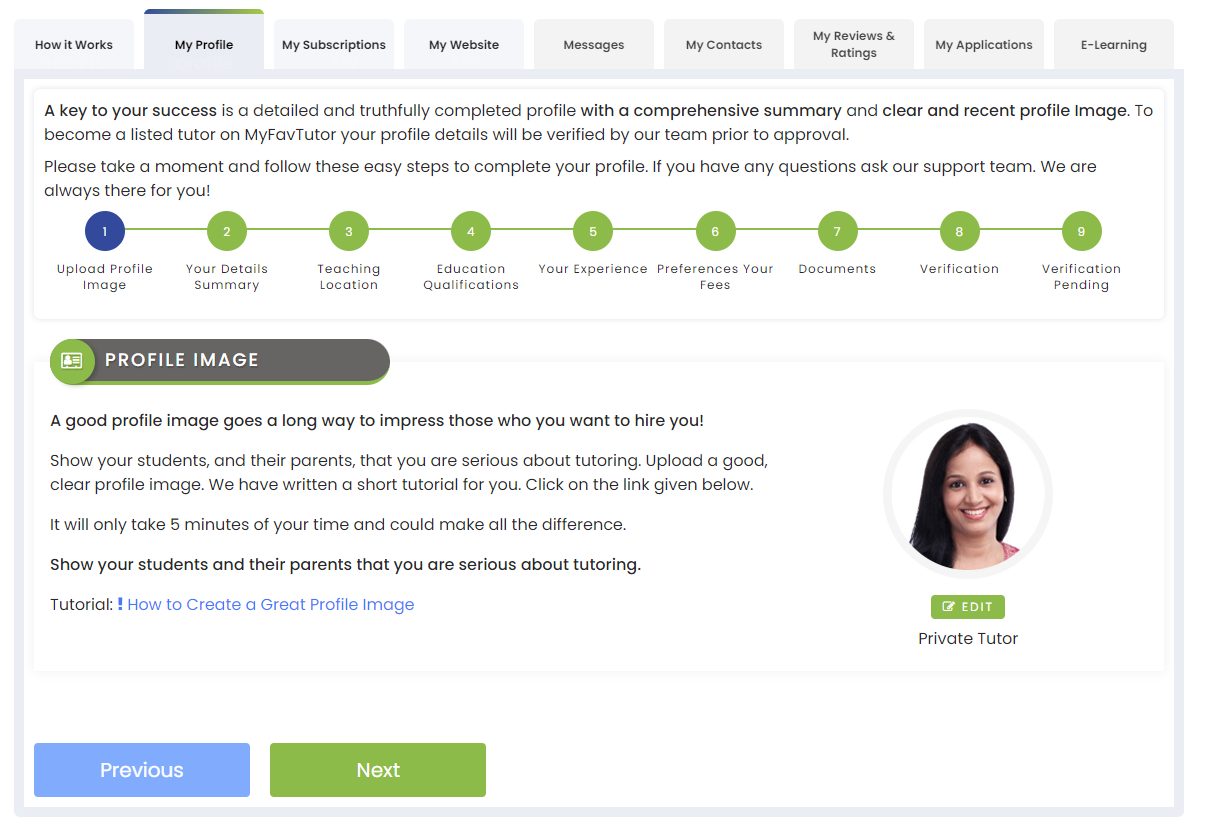
Step 2 - Profile Picture - A good profile picture is important as it will create a very positive impression on students! Tutors or institutes with credible profile pictures are often preferred over those without. Your photo size should be at least 250px wide and a maximum of 5 MB in size in .jpg, .png, .gif or.bmp format only.
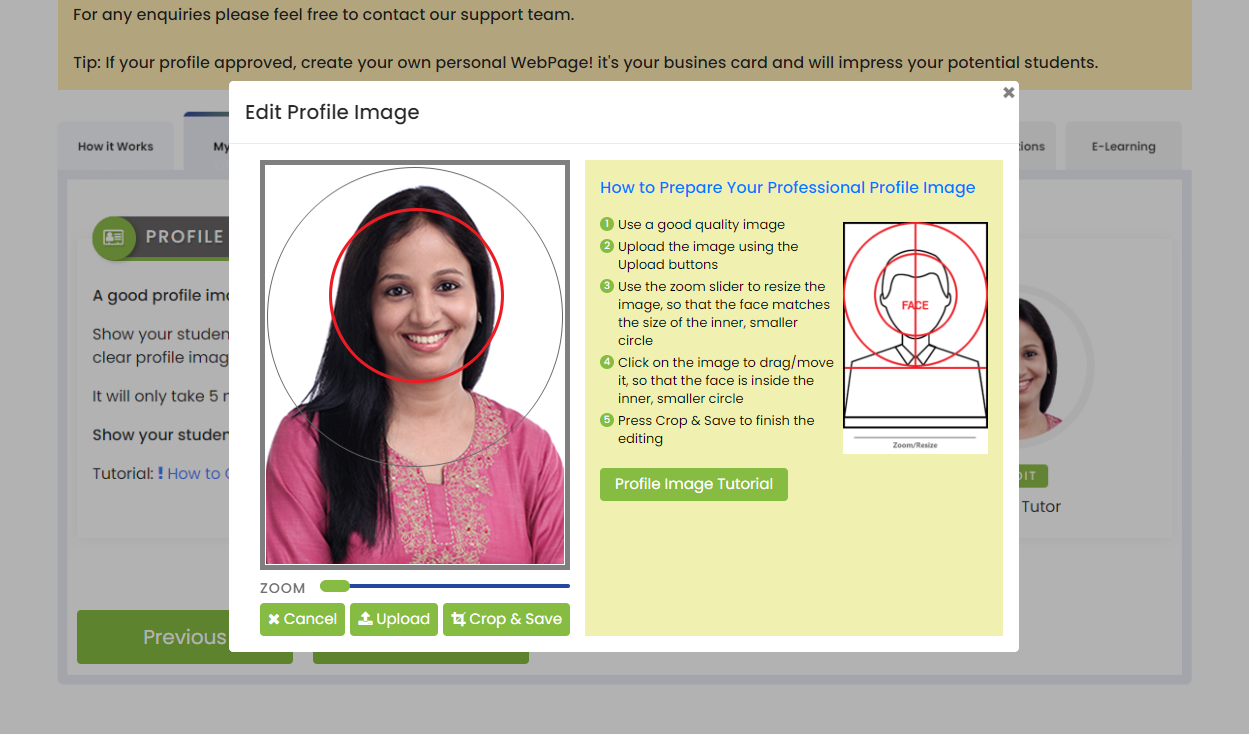
Note: Follow the link named “Photo Uploading Tips” to read the guidelines on how to create a professional profile photo.
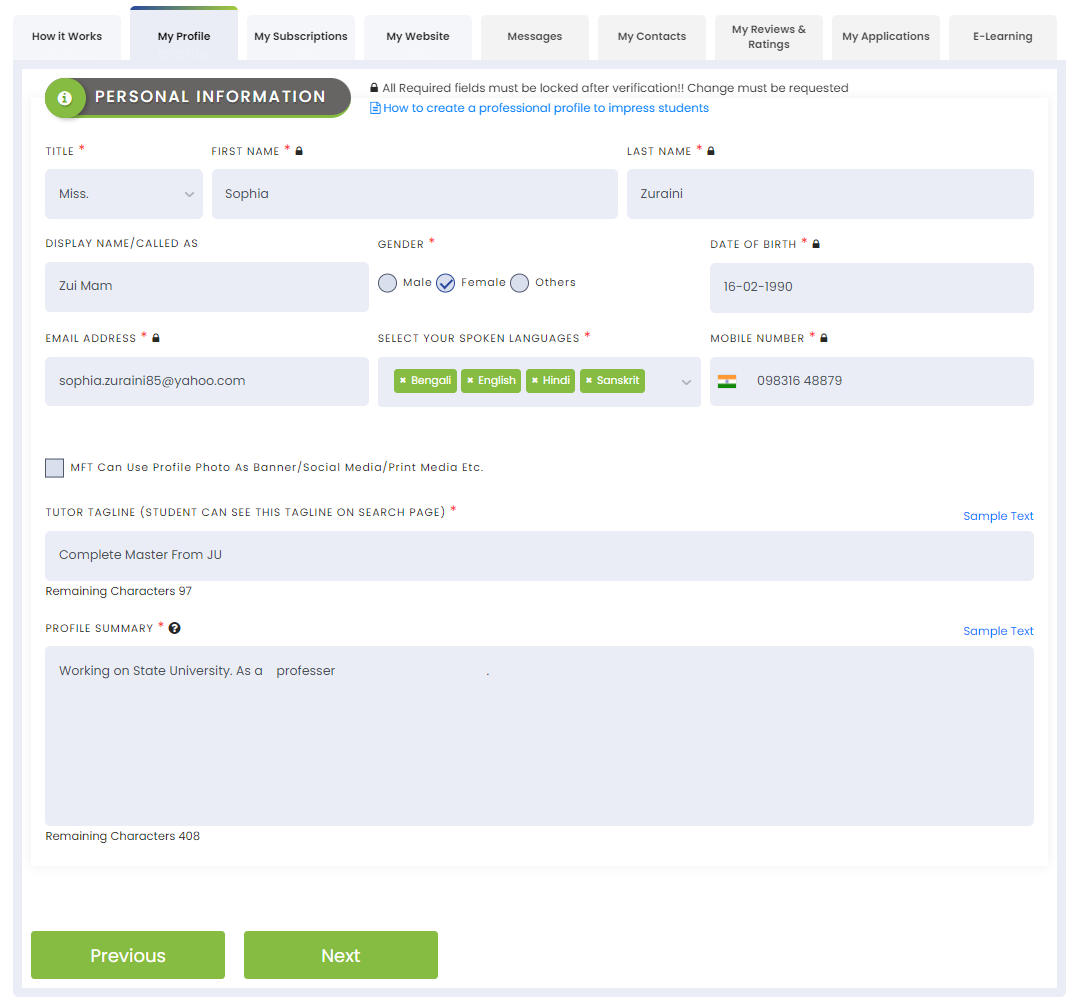
Step 3 - Click ‘Personal Information’: This section shows your name, date of birth, gender, email address etc. You have already entered your name, mobile number and email id during sign up. You cannot change your email id and phone number. Rest of the fields are editable.
Add a short tagline and a profile summary to describe your skills and experiences to the prospective students. It is important to write grammatically correct content in order to impress the students.
Once you have entered all the mandatory fields, review them for accuracy and click the “Save” button. Your personal details establish your identity with students/parents. Your personal information remains confidential with us and will not be shared to any third parties. Your privacy is of the highest importance to us.
Note: Make sure to answer the mandatory questions marked (*)
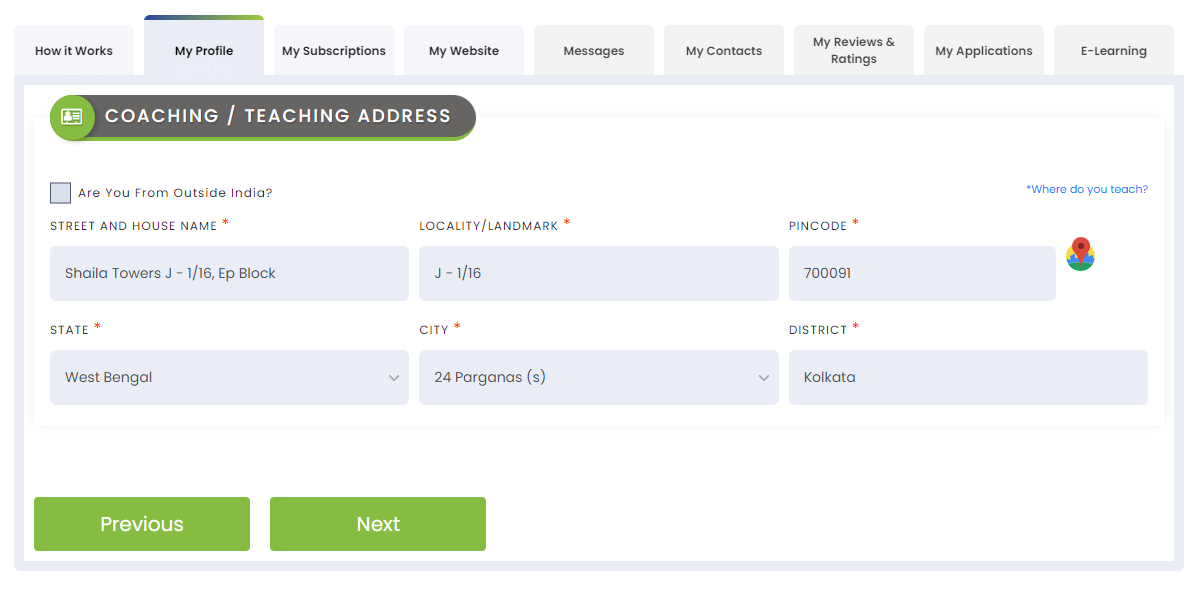
Step 4 - Address (location on the map) - Provide us your complete address including PIN, so that your it can be plotted on Google Map. This information is necessary for you to receive relevant enquiries only from localities near to you. This will also help us to show you a map on how to reach the prospective students.
Note: If you are not able to find your exact address on the map, select the nearest landmark and add your address.
We will show only the locality of your address on your public profile. The exact address that you provide will not be shared with students for security reasons. If you wish to share the full address, you can do so with the prospective students via the message board.
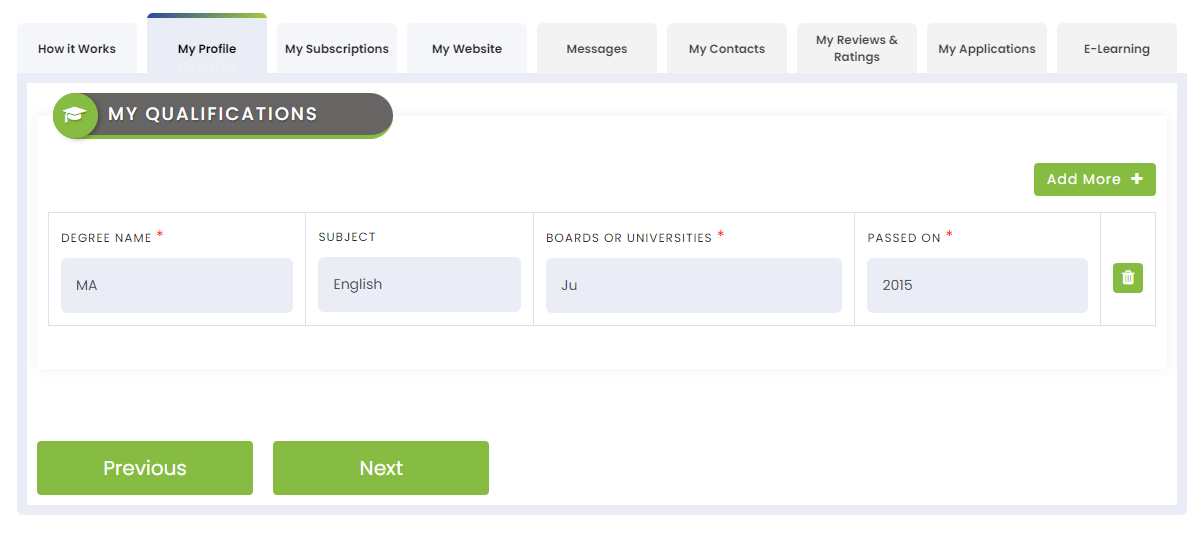
Step 5 - Add your qualifications. It is important to highlight all your academic and professional qualifications, preferably, graduation onwards.
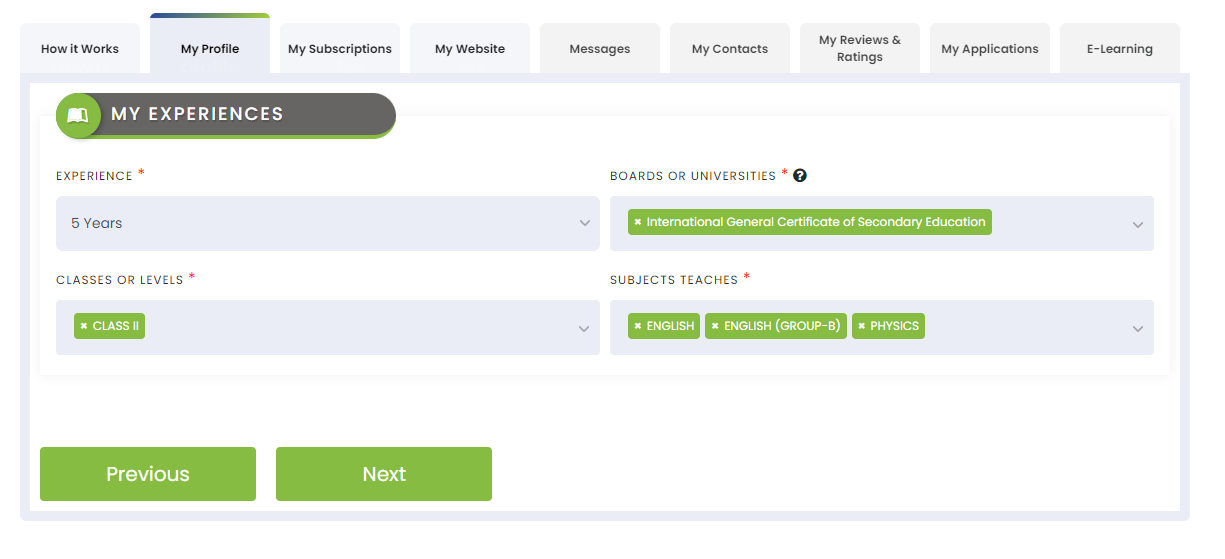
Step 6 - My Experiences - Here, you need to enter your total experience as a tutor and the boards, classes and subjects you teach. These parameters will be used in matching a student’s requirements with your skill and experience.
Step 7 - Preferences and Settings - This is the section where you enter your teaching preferences such as Online / Offline, Morning / Afternoon / Evening, Preferred Days of Week etc. You can also enter your hourly fee and / or per class fee. Enter GSTIN only if you have a GST No.

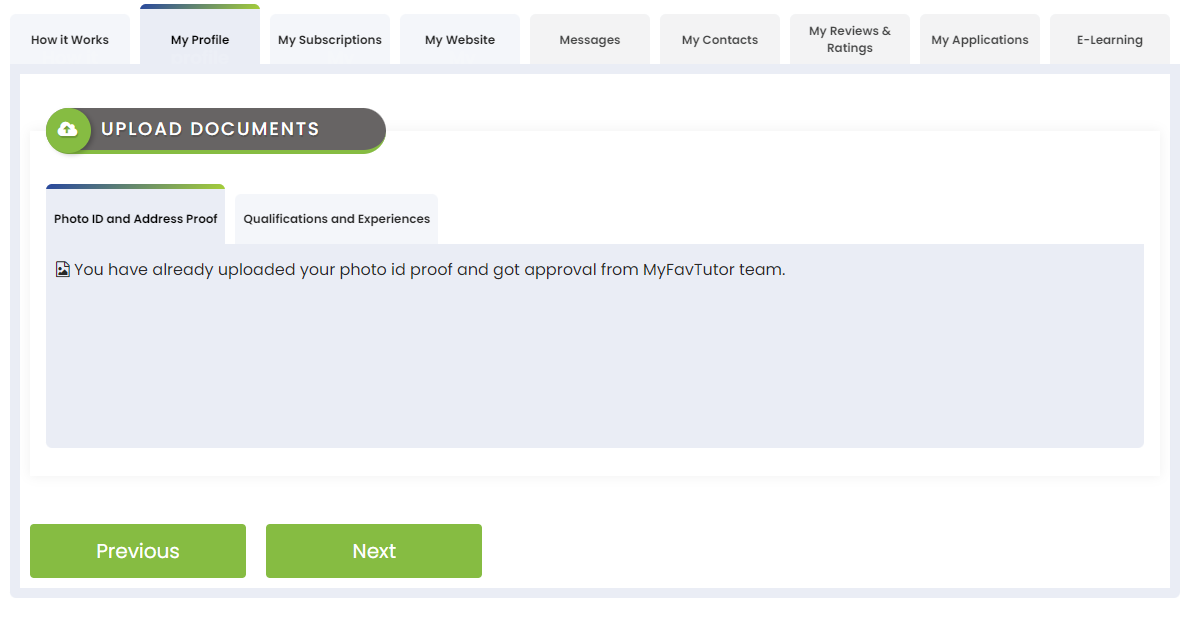
Step 8 - Upload Documents - Uploading a valid photo id is compulsory to get your profile approved and published on the website. You need to upload your identity document (Aadhar Card / PAN Card / Driver’s License / Passport or any other Govt. Issued Identity Proof document that bears your name, photograph and date of birth). Uploading copies of your documents related to qualification and experiences is mandatory only if you have subscribed to the Premium Plan or decide to do so.
Note: Click on the “Next” button at the end of each section to save your changes and move to the next section.
Once all the above mentioned steps have been completed, click on ‘My Profile’ to see how your profile looks. You can always come back and edit any of the entries you made, should you need to.
Having a personal website adds a great value to your tutor profile and it could be a major step towards your endeavour to become a Successful Tutor. Tutors with personal website look more professional and usually get more leads.
Your personal website allows you to reach out to and communicate with students and parents from anywhere in the world.
MyFavTutor gives you an excellent tool using which you can build yourself a professional and dynamic website easily and without having to know any technical stuff.
Follow the steps below and build yourself a professional website in minutes:
Step 1 - Log in to your MyFavTutor account.
Step 2 - Click ‘My Website’ option from your dashboard.
Step 3 - Select the Domain Name you want to use. MyFavTutor provides to two domains by default - tutorsofindia.com and indiasbesttutors.com. Enter a your name or nickname in the next field that says “Enter Your Name”. E.g., if you select the domain name as “indiasbesttutors.com” and enter your name, say, “Madan Joshi”, then your website URL will be https://indiasbesttutors.com/madan-joshi. You can share this URL with your students, parents, contacts and acquaintances and also promote the same via your social media accounts.

Note: In case you own and wish to use your personal domain, please write to contact@myfavtutor.in.
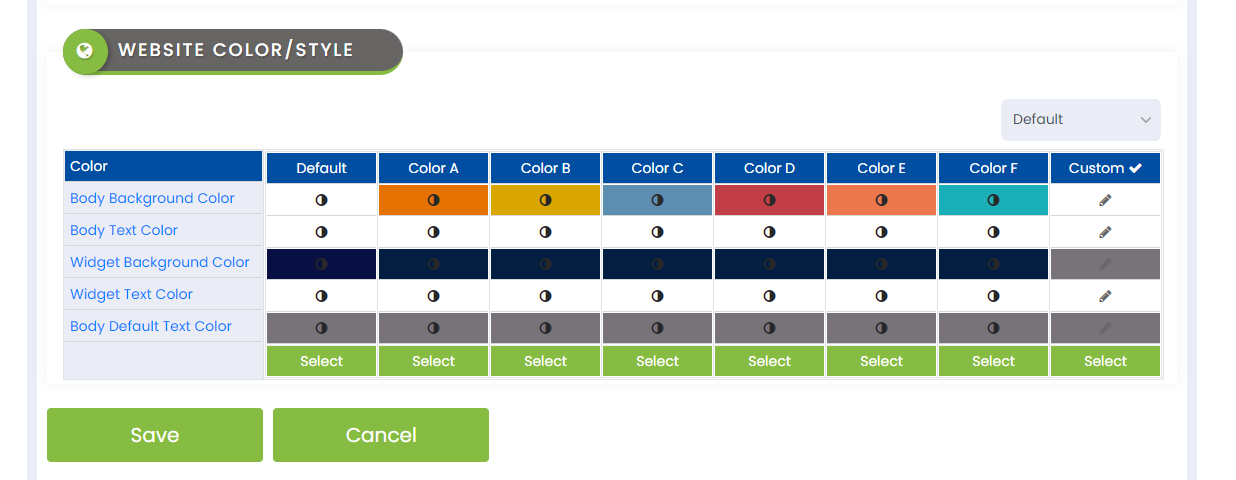
Step 4 - Set your Website Colour / Style: Here you can change the colours of various sections of your website and have them adjusted to your preferences. If you don’t like a colour you have chosen, don’t worry. You can also come back to this step and select some other colour.
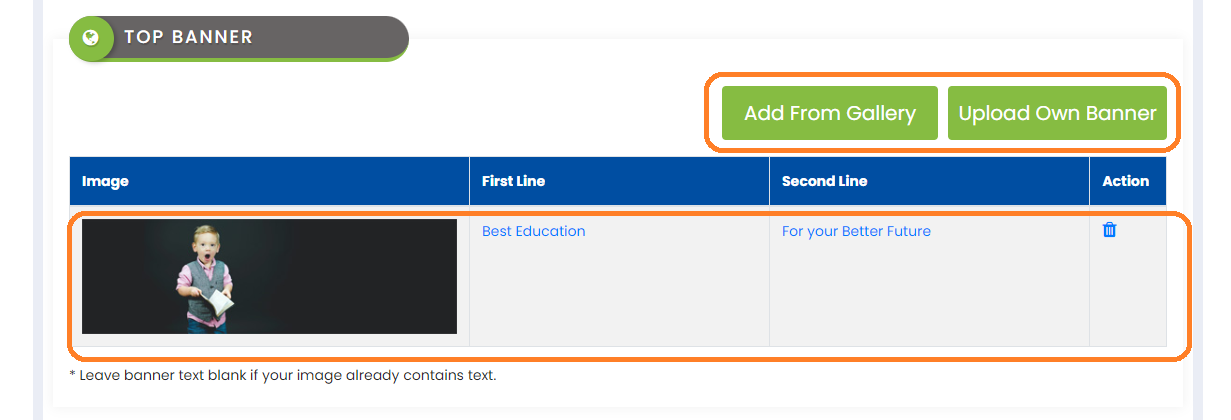
Step 5 - Top Banner: Here, you can set the top banner for your website. You can choose one or more banners from the existing banners provided by the system or upload your own image. While uploading your own image for the banner, please make sure that the size and proportion of the banner image is suitable for using in your website. With each banner, you can write your desired caption.
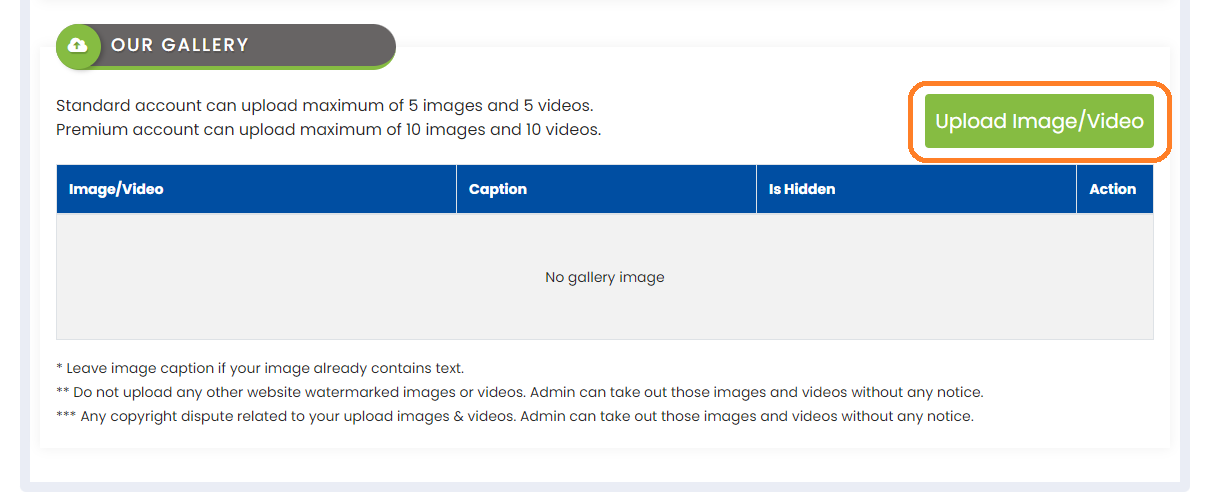
Step 6 – Gallery: Here you can upload photos and videos of yourself / your coaching centre to attract students. There are certain limitations to the number of images and videos you can use depending upon the subscription package you have opted for.